We dive into Amazon’s new machine learning platform – AWS DeepLens.
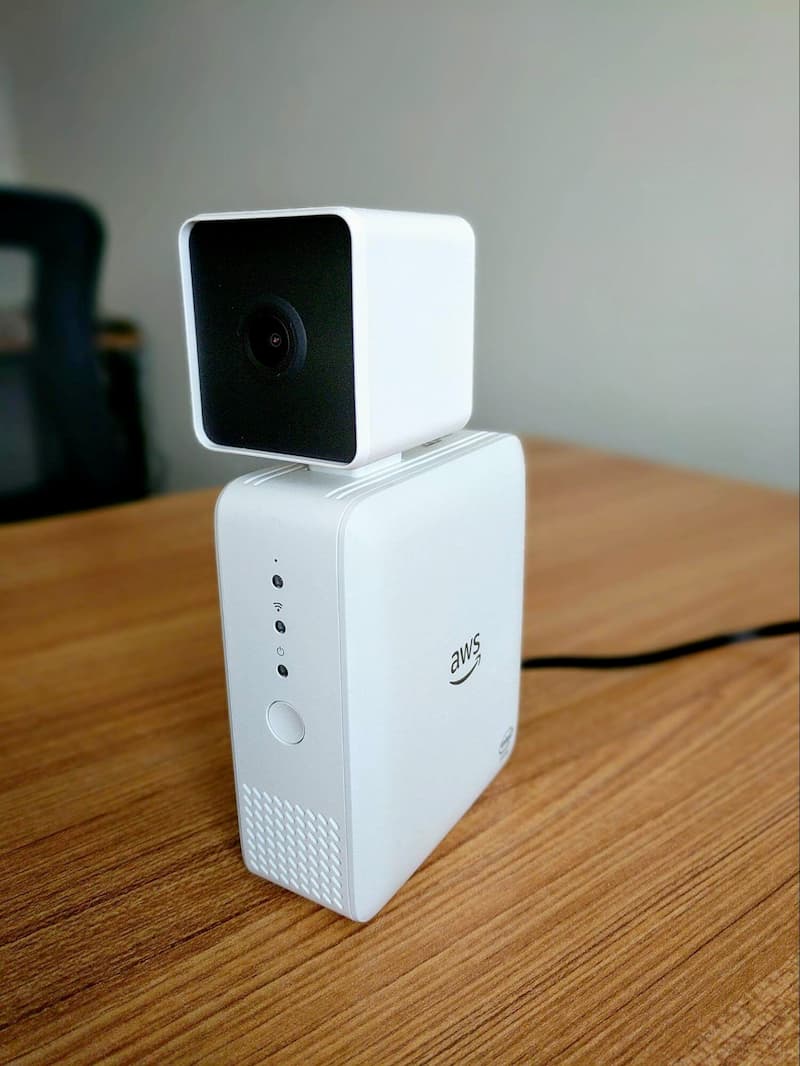
In the last two months, Amazon released their new machine learning camera to the public, the AWS DeepLens. The DeepLens is a unique video camera because it carries an onboard Intel Atom processor, meaning that not only can it run a full OS (it runs Ubuntu 16.04 by default), but it can also process video in real time using a machine learning model deployed to it over Amazon Web Services. After registering the device with an AWS account, DeepLens projects can be created and deployed to the device using the online AWS console. Our goal with this project was to explore how the DeepLens device works by first deploying one of the sample Amazon projects, and then by creating our own machine learning model that can identify a variety of environment sensors.
Getting Started: Setup and a Sample Project
While the DeepLens is advertised as having a simple setup process, we encountered a small, yet frustrating bug. The device creates its own wifi network to allow users to connect directly to the device and access a web page to initialize the device settings. The problem was that the page that we were supposed to go to was being hosted at the wrong IP address. We believe the DNS server failed to initialize correctly and as a result, the “DeepLens.config” web address did not load correctly, making it difficult for us to find the correct page. We were eventually able to discover the address of the DeepLens device, but it was not the one that Amazon described in their setup process. The IP address issued by the DeepLens was a random string of numbers instead of the listed one from Amazon, but we guessed that the DeepLens had the same address as the listed gateway, so we were able to complete the setup process.
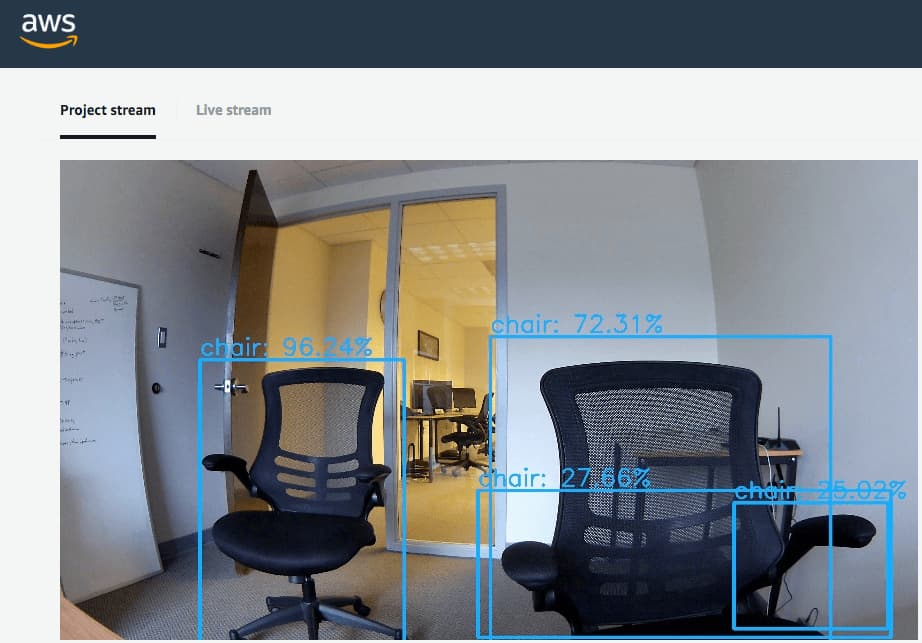
Once we had the device set up and recognized by the AWS DeepLens system, we tested the device capabilities by deploying one of Amazon’s sample projects. The “Object Recognition Demo” uses an MXNet model to detect an object out of 20 possibilities. This model was capable of working in almost real time and while many of the objects it could identify were not in the office (like a car), it was capable of identifying people, chairs, and tables. This proved that the DeepLens could run a machine learning model locally and process the video input, and so we sought to expand on this project by creating our own model.
Creating Our Own Project
As we learned, an Amazon DeepLens project has multiple components — the machine learning model, AWS Greengrass, and an AWS Lambda function that is run to access the model and process the incoming video. To satisfy the first requirement, we explored the option of retraining an existing model to avoid the high computation cost of creating a model from scratch. Using Google’s Tensorflow library, we retrained the Inception V3 image classification model so that it could identify our own custom objects (several temperature sensors) by following a tutorial created by Google. We acquired one-hundred images of each sensor for training and then ran a script provided by Google to retrain the model. After the process finished, we tested the model’s effectiveness using a different script provided by Google, and the model was successfully capable of identifying which sensor was in the picture on our local Mac laptops.
Once we had a model, we needed an AWS Lambda function capable of utilizing both the DeepLens video input and the model that we created. We followed the code template that Amazon provided, but upon deploying the project to our DeepLens device, the program crashed and we received no video output. Because we were launching the project from the AWS Console, we could not obtain any console output, so we had to blindly try and debug our problem. We decided to reset the device and enable SSH capabilities, so that we could test our program locally and monitor console output. By running the program this way, we were able to see the error that was causing the crash, which appeared to be an issue with the provided model optimizer function.
The Model Optimizer is a code module created by Intel to convert a variety of different machine learning model types into a standardized format. By including this code in the “awscam” software package, Amazon provides support for a number of different machine learning frameworks, while also still maintaining a single unified API. What we have concluded, however, is that the newer version of Tensorflow that we used is not actually compatible with the optimizer. While earlier versions of the library may work on the DeepLens, the minimum version of Tensorflow we need for retraining is too new and therefore incompatible with the device, explaining the crash that we encountered. We are unable to explain why this occurred in further detail, but we knew we had to find an alternative solution.
A New Approach
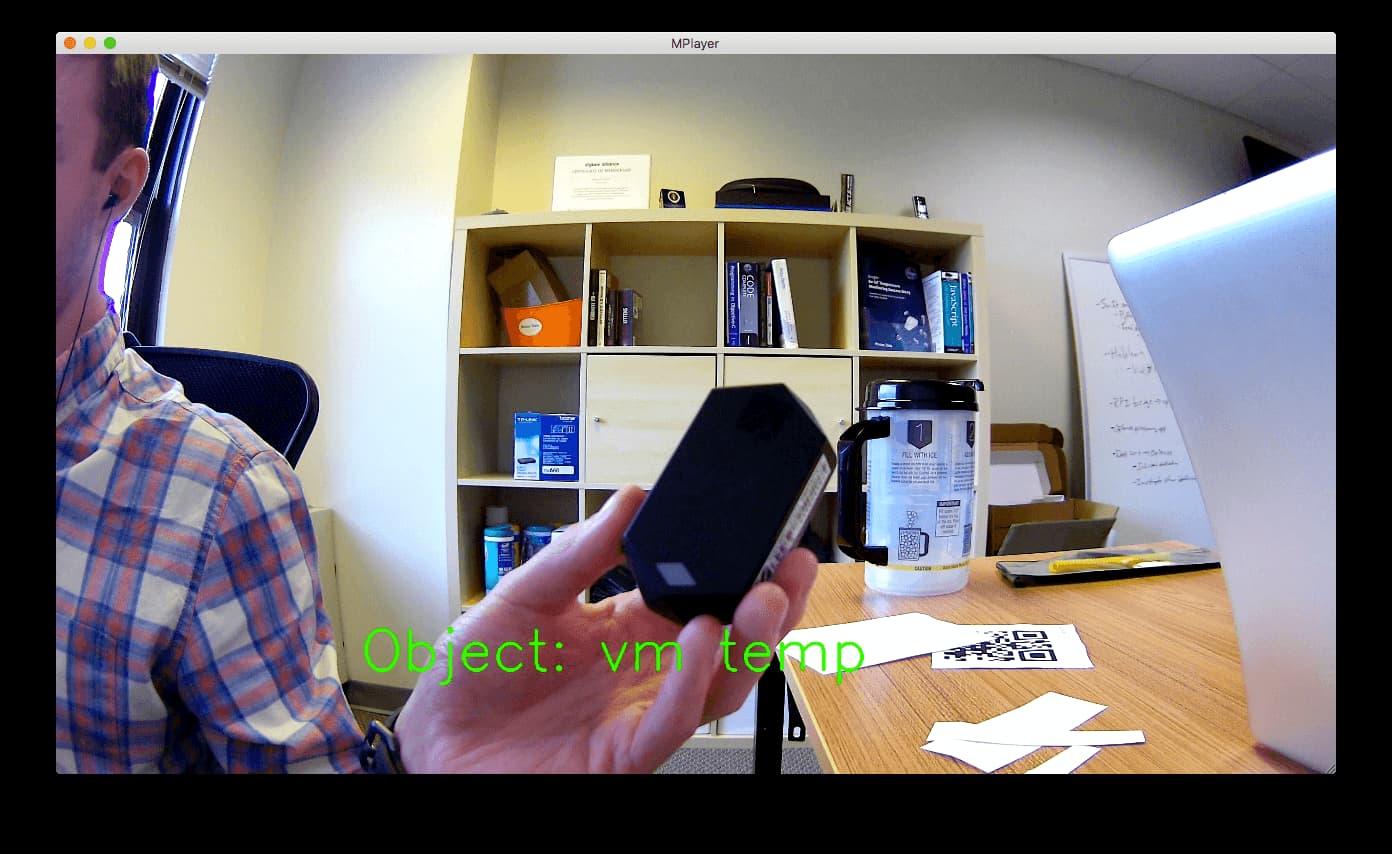
Amazon’s API for using the Model Optimizer would have made our code simpler, but we still had the option of using our original Tensorflow model directly with the Tensorflow library. As a result, we replaced our old model optimizer code in our script with the necessary code to process a DeepLens video frame with Tensorflow, and then run the processed image against our model. By using this method, we bypassed the Model Optimizer, and avoided the compatibility problems from before. We also added text to the live video output that displayed which sensor the camera was detecting.
These changes resulted in our project successfully running, and the DeepLens was able to correctly identify and display which sensor we were holding on the screen. If we changed what we were showing to the camera, the output would also change, to reflect the new sensor. This change, however, was slow, and we suspect that this is because we are not using the Model Optimizer. It seems that running the Tensorflow code directly is less efficient than an optimized model, as the “Object Detection” demo project did not suffer from the same degree of lag.
Third Time’s the Charm?
Because of our performance problems with the Tensorflow model, we decided to create a model with the MXNet framework, in an effort to create a model compatible with the Model Optimizer. A lack of straight-forward documentation made this a difficult endeavor, as it was not always clear why certain steps had to be taken in the model creation process. MXNet has a much more involved training process than Tensorflow, as there are more intermediate steps between taking training images and creating the final model, which is why the process was more difficult. Ultimately, we were able to create a model that could successfully be run through the Model Optimizer, but unfortunately the model was also incredibly inaccurate. It was almost always unable to correctly identify the sensor, so although it was faster than the Tensorflow model, the speed was not a worthwhile sacrifice. Future work could entail attempting to make the MXNet model more accurate.
Next Steps
Our current model is capable of identifying what an image contains, but it can’t answer the question of where. For a machine learning model to provide that kind of information, the training data must have the object already pre-labelled. Adding this information to our original training data would have been tedious and would have exceeded the original scope of the project, but it could prove to be an interesting addition to our program.
A second more open-ended step is to think about useful applications for our model. Live video processing with a machine learning model has enormous potential, and combining the results of our video output with something like IoT sensor deployment or further cloud computation could improve company workflow efficiency.
Ready to accelerate your growth? We’re here to guide you. Visit our Contact Us page and get in touch.