
We recently tested Rekognition’s image detection capabilities with photos from a cell phone camera, so next we decided to automate the process with photos from a Raspberry Pi camera module. We used a motion sensor we had set up in one of our previous projects to begin work on our desired motion-activated identity verification system. With that in mind, we set the Raspberry Pi and camera up on a desk in one of our office rooms, pointed it at the door, and got to work.
What We Did
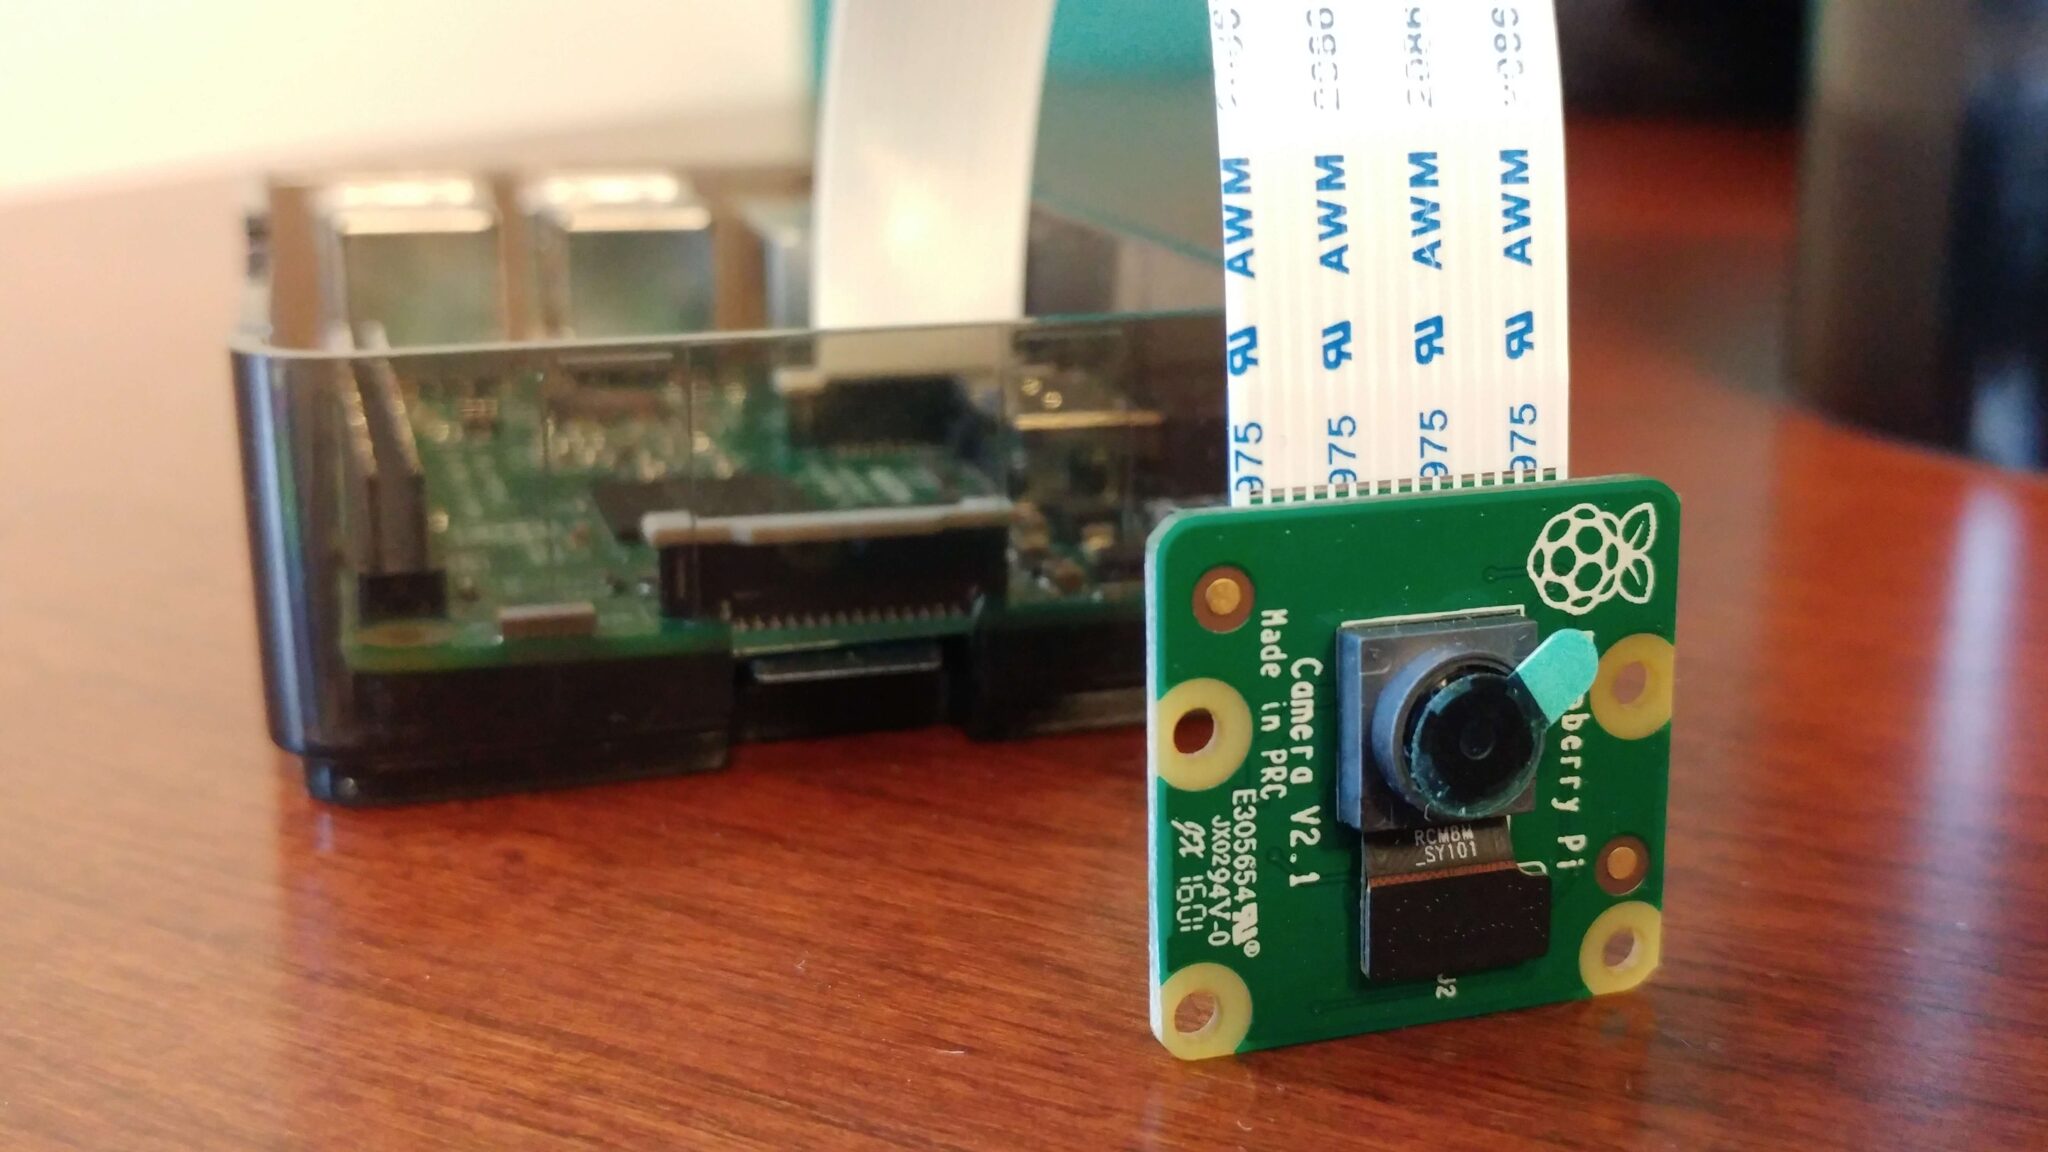
We began by getting a feel for the capabilities of the Raspberry Pi camera. The camera we used has a maximum resolution of 3280 x 2464 pixels, in addition to its video capability. Our interest is in minimizing the data that needs to be processed, so we wanted to see how small the photos could be while still being reliably usable by Rekognition.
To find out, we started getting some pictures from the camera. For the purpose of the test, we needed time to physically move in front of the camera. Setup was quick and simple, and it didn’t take long to make a simple Python script that would take the photo with a small delay, giving us the chance to get in place. The maximum resolution works out to be roughly a 4:3 aspect ratio, but the camera can take photos at user-specified pixel dimensions. Making use of this feature, we took square pictures to trim down photo size a bit. The camera is actually capable of taking photos at a tiny 64×64 pixel resolution, but the minimum resolution for Rekognition is 80×80 pixels, so we used that as our minimum and took photos up to 1000×1000 pixels in resolution.
For the arrangement in our office room, the door is about 10 feet from the camera. Our initial Rekognition tests used photos that were all taken a few feet from the subject, and Rekognition was able to identify the subject down to about 450×300 resolution. Now that we used photos taken from a farther distance away, the lowest reasonable resolution was about 600×600 pixels.
We took this information to the next step, which was including the motion sensor to the system. We added the motion activation to our script, set the resolution at 600×600 pixels, and got everything in place. The system worked as expected, taking a picture when the sensor signaled to the Raspberry Pi that it detected motion, and standing by idly when there was no motion. After we had some photos captured in this way, we ran them through Rekognition and found that we were still identifiable.
The last step was to get all the components working together and running automatically. The system needed to be aimed at the door, take a photo upon sensing motion, upload the photo to our AWS S3 bucket, use Rekognition to compare the photo with the reference photos in our Rekognition Collection, and save the results of the identity check in a file for later reference.
In practice, this was straightforward thanks to the individual components of the system working together easily. Our python script waits for motion detection from the sensor, takes a photo with the camera, and then passes the filename to a bash script which uses the filename to run the shell commands needed to upload the photo to our AWS bucket and then check against our Rekognition Collection.
Challenges
Although the system was mostly easy to set up, there were some aspects of the hardware that required some consideration. A minor aspect of this is that the motion sensor would ideally not be exposed to motion other than the desired movement into the room through the door, but in practice there will always be movement outside the door that is not an individual entering the room. The camera is a fairly small component that connects to the Raspberry Pi via ribbon cable. Because the camera is so small, it lacks the weight needed to stay in place, and is easily knocked out of place. This form factor could be convenient if the camera were to be installed into an object, but for simple testing like ours, it must be kept in mind that it cannot simply be set and aimed like a webcam might be.
We found in our initial Rekognition project that the optimal photo will include a subject that is facing the camera and unobscured. Since people may enter the room in suboptimal ways, such as heading in different directions or even looking down at an object as they come in, there is some level of error that the system will not be able to correct for, because Rekognition detects faces rather than entire bodies. This can be offset to some extent by making use of the adjustable sensitivity of the motion sensor or by having a larger array of photos in the reference Collection, increasing the likelihood that Rekognition will be able to find a match. Similarly, even if the subject is adequately positioned and the photo taken at the proper time, a common occurrence is that the photo will be blurred simply due to the subject moving as the photo is taken. To fully combat this, further testing would be needed to evaluate whether the camera can be adjusted to an appropriate shutter speed.
Next Steps
We are continuing to work with Rekognition and we plan on attempting the same type of image capture and upload using a Particle. Another interesting use case would be to use the resulting information from Rekognition to trigger a voice greeting from Amazon Polly.